06 Bulk Datasheet Export and Import
Bulk Import/Export
Export datasheets to excel files in bulk for easy management and modification of listings.
1. How to export all data in datasheets?
2. How to import datasheets?
3. How to import datasheets and product photos?
|
1. How to export all data in datasheets? |
|
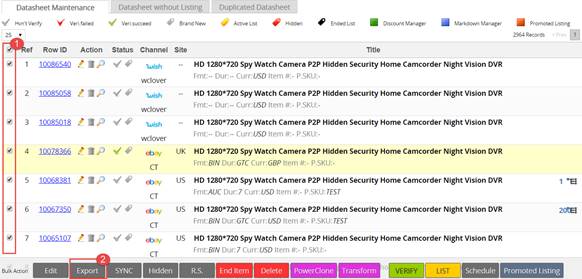
I. Login to SoldEazy. Go to Datasheet > Datasheet Maintenance
II. Check the datasheets required modification. Click the <Export> button at the bottom of the page.
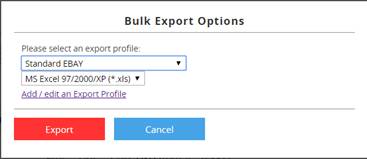
III. Choose the appropriate export option. Click the <Export> button. l Export Profile: If all the information in the datasheet is required, select <Standard Data-sheet>. Format of the export file: <MS Excel 97/2000/XP (*.xls)> and <Test CSV(*.csv)> are provided.
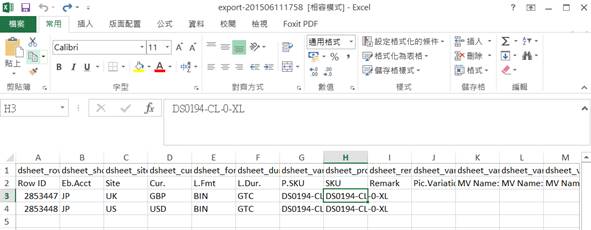
IV. Modify your listing in the respective columns in the excel file.
|

|
2. How to import datasheets? |
|
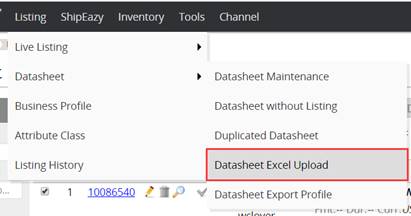
I. Login to SoldEazy. Go to Datasheet > Datasheet Excel Upload II. Click the<Choose File>button in the Upload a datasheet section. Click <Upload> after choosing the correct excel file
III. A result will be shown after upload. An error message is displayed if the upload is failed.
IV. You may check the datasheets if the upload is successful.
|
|
3. How to import datasheets and product photos? |
|
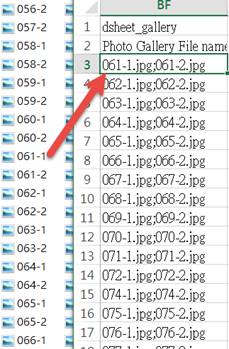
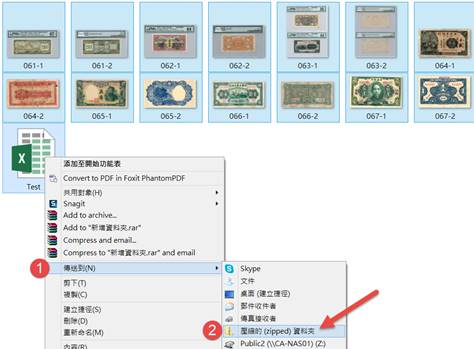
I. When you are creating datasheets in the excel file, you may fill in photo names and format in the appropriate columns. If more than one photo, semi-colon“;”can be used to separate different photos. II. Add the photos and the excel file to a ZIP folder.
V. Login to SoldEazy. Go to Datasheet > Datasheet Excel Upload
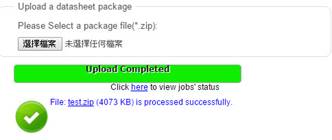
III. Click the<Choose File>button in the Upload a datasheet package section to upload the zipped folder.
IV. Wait until the upload job is added to <Job Management>. You may go to <Job Management> to see the result.
V. When the job is completed and successful, you may go to Datasheet > Datasheet Upload to the new datasheets. *If the product photos are failed to upload, please check the file names and format in the excel file matches the photo files.
|


** End **
Article Number: 74
Posted: Mon, Nov 13, 2017 5:26 PM
Last Updated: Mon, Nov 13, 2017 5:26 PM
Posted: Holistic Tech [info@holistictec.com]
Online URL: https://www.soldeazy.com/support/article.php?id=74